To begin with, TFT LCD is small color display, it can show text, images, shapes and sensor values and Arduino can control this display.
TFT means Thin Film Transistor and LCD means Liquid Crystal Display.
Furthermore, we can also use Interfacing TFT LCD with Arduino for making projects more interactive.
Arduino Code:
Use Adafruit GFX and Adafruit TFT library.
Install from Arduino IDE Library Manager.
#include <Adafruit_GFX.h>
#include <Adafruit_TFTLCD.h>
#include <SPI.h>

#define CS 10
#define DC 9
#define RESET 8

Adafruit_TFTLCD tft(CS, DC, RESET);

void setup() {
  tft.begin();
  tft.fillScreen(0xFFFF);  // White color
  tft.setTextColor(0x0000); // Black text
  tft.setTextSize(2);
  tft.setCursor(20, 30);
  tft.println("Hello TFT");
}

void loop() {
}
Parts List:
| Components | Description |
|---|---|
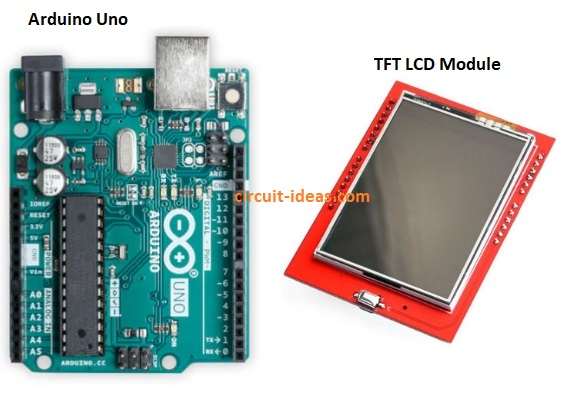
| Arduino Uno Board | 1 |
| TFT LCD Module | 1 |
| Jumper Wires | 1 |
| USB Cable for Arduino | 1 |
| Software Arduino ide, TFT library for Arduino (spfd5408) | 1 each |
TFT LCD has many pins and important pins are:
Working of TFT LCD with Arduino:
Arduino send data to TFT LCD using SPI communication or parallel pins in some model, then Arduino tell screen what to do like show text, draw shape or change color.
CS (chip select) pin choose the TFT screen to talk and DC (data/command) pin tell if Arduino sending command or display data.
MOSI send the data bits and SCK give clock timing and RESET restart screen when power is ON.
VCC and GND give power to the screen and LED pin turn ON the screen backlight.
Arduino send small pixel data very fast and TFT LCD take this data and show it on the screen and this way we can show text, numbers, sensor values, graphics, etc.
Steps to Install TFT Library in Arduino IDE:
User just have to put TFT Shield on top of Arduino, because TFT Shield fit with Arduino UNO and Arduino Mega.
Then connect the USB cable to Arduino Uno, also following are the steps to Install TFT Library in Arduino IDE:
- First, open Arduino IDE.
- This is Arduino software on computer.
- Then go to Library Manager.
- Click Sketch, then Include Library and then Manage Libraries.
- Search TFT library.
- Type “TFT” or “Adafruit TFT” in search box.
- Select and install.
- Click Install on Adafruit GFX Library.
- Click Install on Adafruit ST7735 / ILI9341 / TFTLCD Library.
- Wait few seconds.
- Library will download and install.
- Close Library Manager.
- Go back to Arduino IDE.
- Check example.
- Go File, then Examples and then Adafruit TFT to see sample code.
- Now TFT library ready to use.
Output Connections:
- TFT LCD show message on screen.
- We can change text, color and shape, also we can display sensor data.
Additional tips:
- Use 5V power supply for stable screen, then check pin connection carefully.
- Use correct library for TFT model and if screen is white only, wiring maybe wrong.
Conclusion:
To conclude, Interfacing TFT LCD with Arduino works easy and it make project look nice.
Also, we can show many thing on screen, furthermore, TFT and Arduino are good for small display project.